Needed material.
- A
raspberryPi 3 or 3+ with adequate 2.5A or 3A power supply - Adafruit raspberryPi LED Bonnet (
adafruit link) - 6x of 64x64 LED panels (
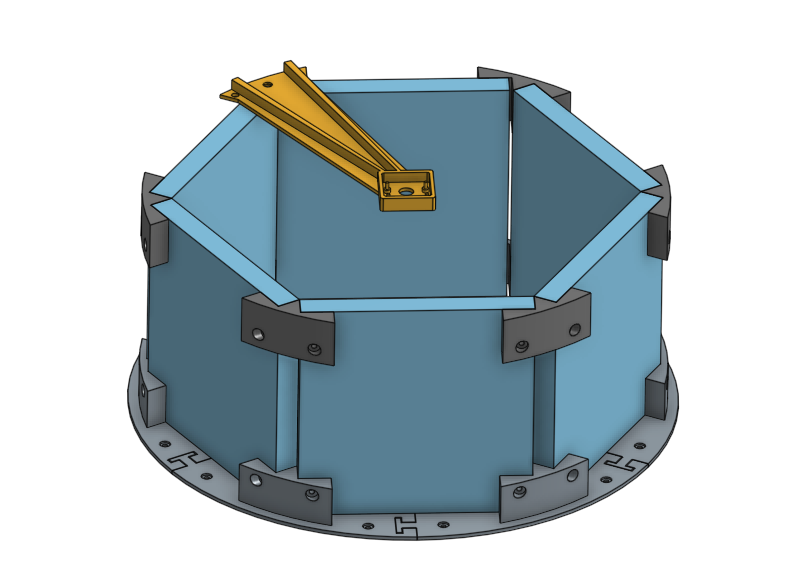
aliexpress link) - Entire 3D printed structure (
onshape link) - 24x M3x10 socket button hex screws (amazon link)
- A
raspberryPI camera - A longer ribbon for the camera (
aliexpress link)
Software.
I will make an .img file with a working version of the PI. The OS is (as usual) arch-linux. The libraries used to drive the LED are:
The former is used to control the LED displays. The latter is used to to send multi-layered visual information.
Assembly.
- Download and burn the PI image with the custo software (link)
- Mount the 6 panels in a structure using the hex screws and the 3D printed parts.
- If using 64x64 LED panels, the bonnet must first be modified to properly drive this configuration by soldiering a jumper on the back (see figure below).
- Connect the bonnet to the PI and connect all the cables
